How to: reseat Samsung CLP-310/315 transfer-belt unit
JUMPED-TO CONCLUSION: not hard to do and it might fix the damn thing.
This post is for those whose Samsung CLP-315 printer is throwing up a transfer-belt error during initialisation/warm-up after powering on; this will show as a constant red light on display, but the Smart Panel utility (that comes with the printer drivers) will tell you the precise error if installed.
Personally, I made the (obvious) mistake of shipping mine between France and England without removing the cartridges and in the same box as a framed drawing whose glass smashed and got into every last nook and cranny.
I tried reseating the cartridges, the newly cleaned waste-toner cassette, and the big green drum (imaging unit), but to no avail. I found online that some people suggested removing and reseating the transfer-belt unit (TBU), but no one gave any instructions about how to do that. Even the forums were no use. On the verge of throwing it out because of this and an intractable spooler problem with the god-awful Samsung drivers, I thought I’d have one last go, and, well, it worked…
WHAT YOU NEED:
A) The CLP-315 Service Manual, at a push
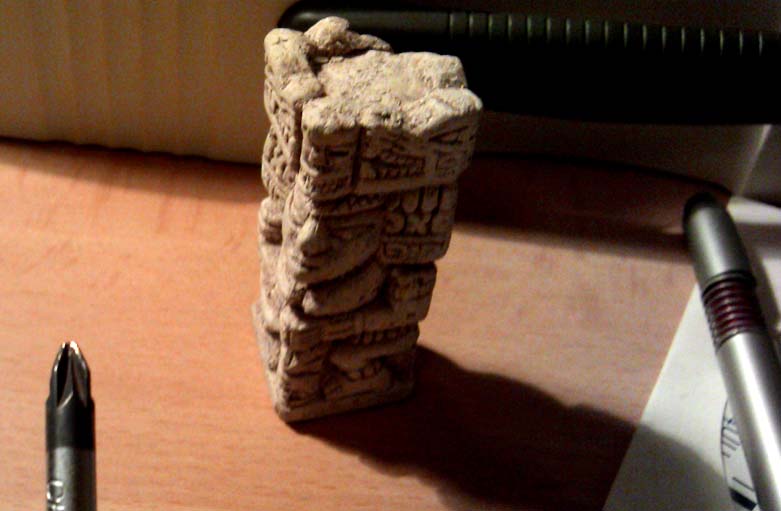
B) Medium-sized Phillips screwdriver, checked by a Mayan (as below)
WHAT TO DO:
1.) Remove the cartridges, waste-toner cassette, and imaging unit; all obvious, but described in the Service Manual (p.48/”3-7″) if need be.
2.) Remove the screws securing the top cover (in red below), as in Service Manual (p.49/”3-8″, steps 5 & 7).

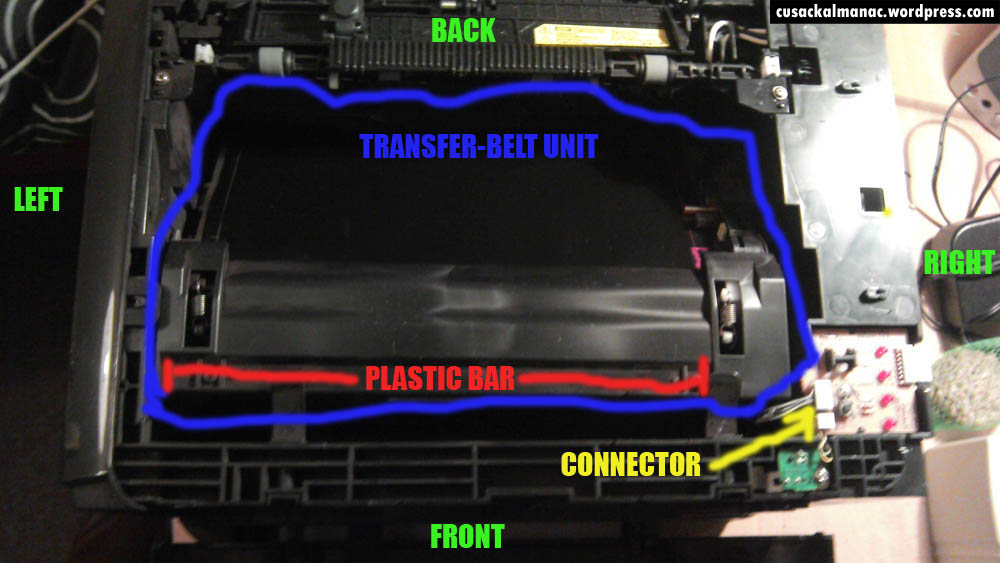
3.) Remove the top cover by pulling upwards and towards the front of the printer (leaving it as in the plan view at the start of this post); you needn’t remove the side covers.
4.) Disconnect the connector indicated in yellow above (slides horizontally right to left).
5.) Unseat the transfer-belt unit (indicated in blue) by pushing diagonally downwards towards the front of the printer on the plastic bar (indicated in red); it will quite easily click past the ballbearings that hold it in place on each side.
6.) Shake the unit, dance with it, grind against it, kiss it, plead with it, whatever will bring you luck.
7.) Push the transfer-belt unit back up into place within the printer, reconnect the connector, put the top cover back on.
8.) Put back the big green imaging unit, the waste-toner cartridge, and the four toner cartridges.
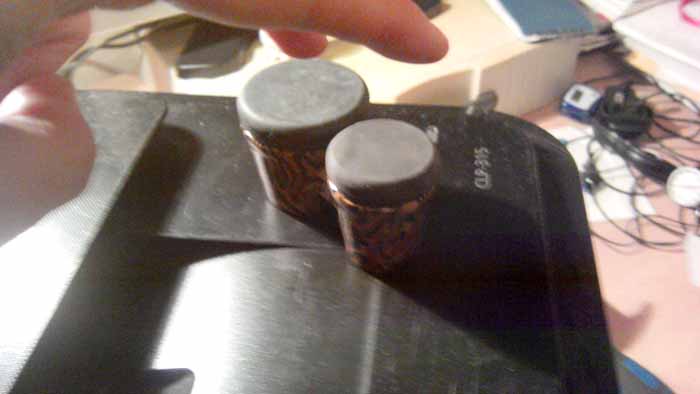
9.) Do a finger drum roll (below).
10.) Connect your printer to the mains, power on, and hope for the best.
11.) If it is now completing the initialisation stage and reaching the green “online” state, you should be back in action; print something just to check.
12.) Put the top-cover screws back in, and that’s it.
WHAT IF THAT DIDN’T WORK?
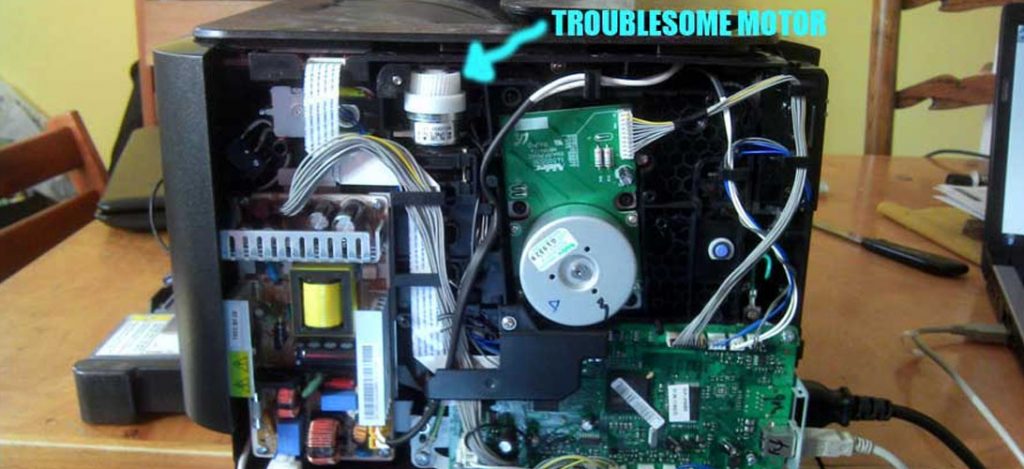
Well, the second thing to try seems to relate to a little motor behind the right panel (below).

It seems that the instability of this motor can cause abrupt termination of the initialisation process, followed by a constant red light. Although the video below uses a different model, it’ll give you an idea of what I mean and what to do about it:
http://www.youtube.com/watch?v=5ISBySj6IDc
On the CLP-315/310, getting the right panel off and on is a pain because of a lump on the front end that sits above the front panel when the printer’s front door is open. To get past this, put the front door at about a 45-degree angle and wiggle the right panel in the gap between the lump and the bottom.
Good luck, and Merry Christmas (2012)!

